Configure Access Prevention Messages
Customize Blacklist Manager access prevention messages for blocked IPs, country restrictions, browser blocking, and full-site blocks.
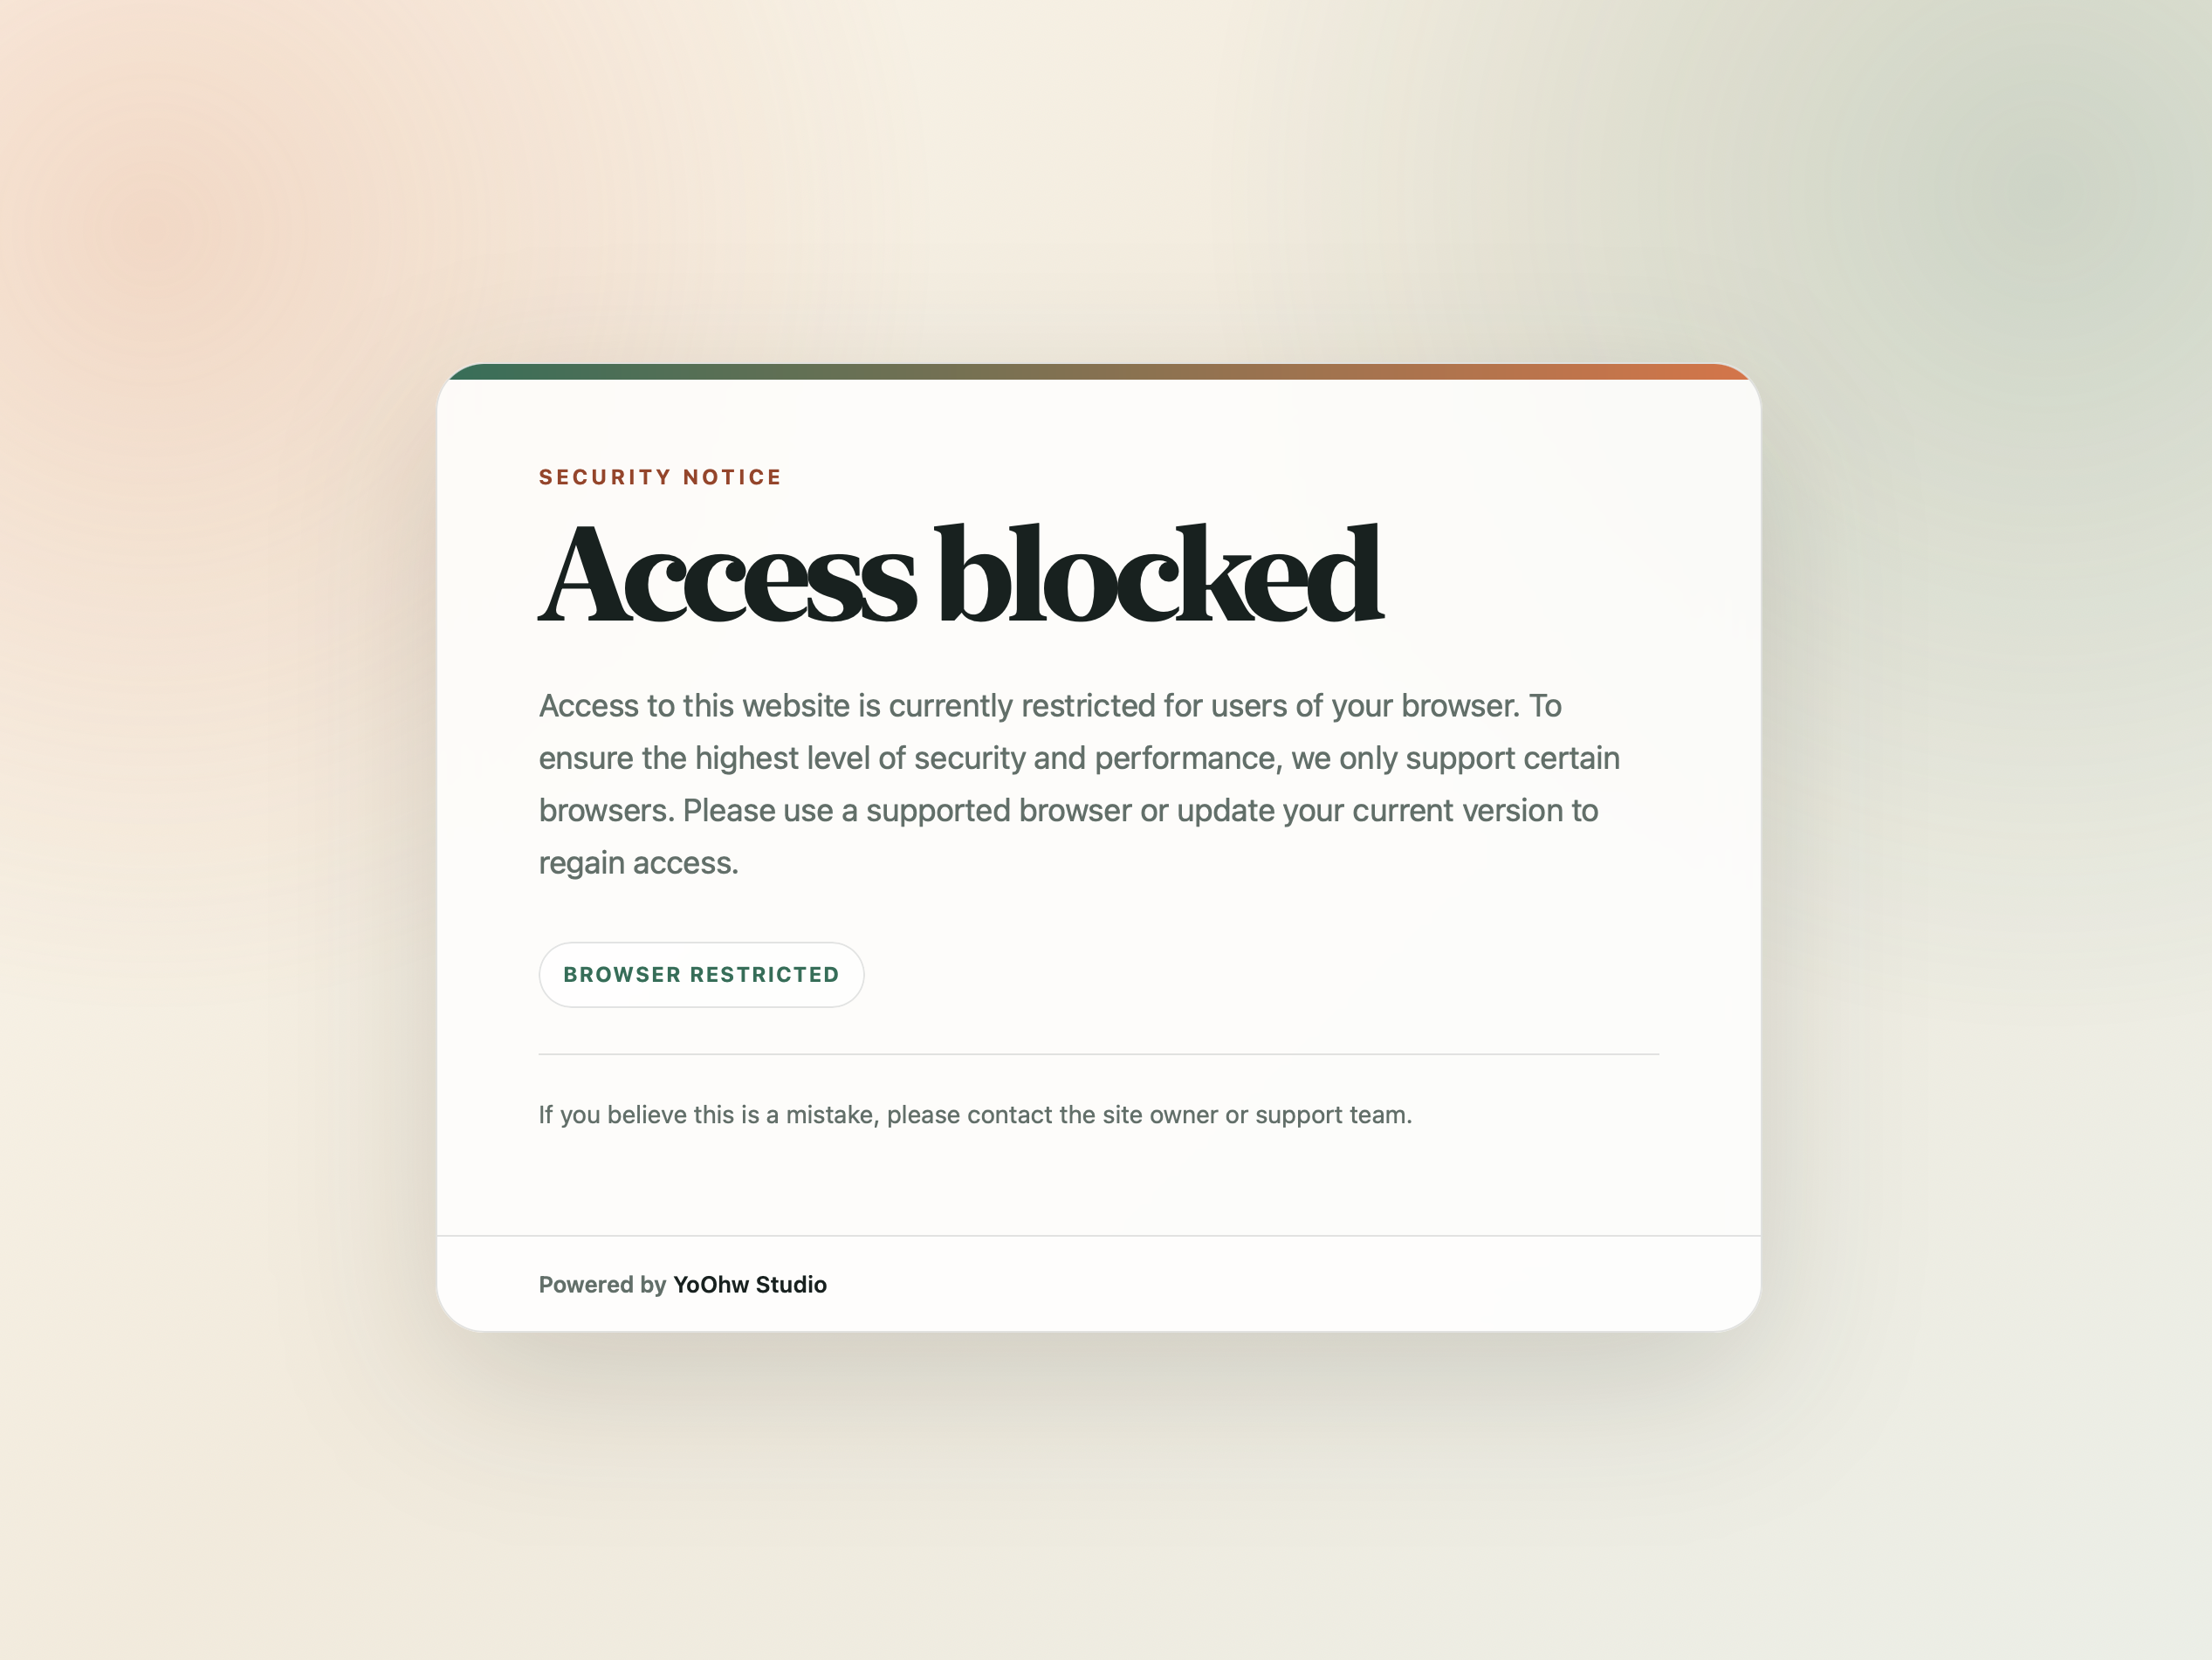
Access prevention messages are shown when Blacklist Manager Premium stops a visitor from accessing the site entirely. This is different from a normal checkout or form notice.
Simple version: Normal notices block one action. Access prevention blocks the visitor from browsing the site and displays a full-page restricted access message.
When Access Prevention Is Used
The access prevention page can appear when Premium blocks site access by:
- A blocked IP address.
- A country access rule.
- A blocked browser rule.
When this happens, the visitor sees a full-page message such as Access restricted or Access blocked. The page is designed for site-level restrictions, not normal checkout validation.
Access Prevention vs Limited Blocking
For IP address blocking, Blacklist Manager has two important behaviors.
- Limited blocking: visitors can still access the site, but selected actions such as checkout, registration, comments, or forms can be blocked.
- Prevent access: visitors from blocked IP addresses are stopped from accessing the site.
Use Limited blocking first if you are still testing your rules. Use Prevent access only when you are confident the blocked IPs should not browse the site at all.
Configure Blocked IP Access Message
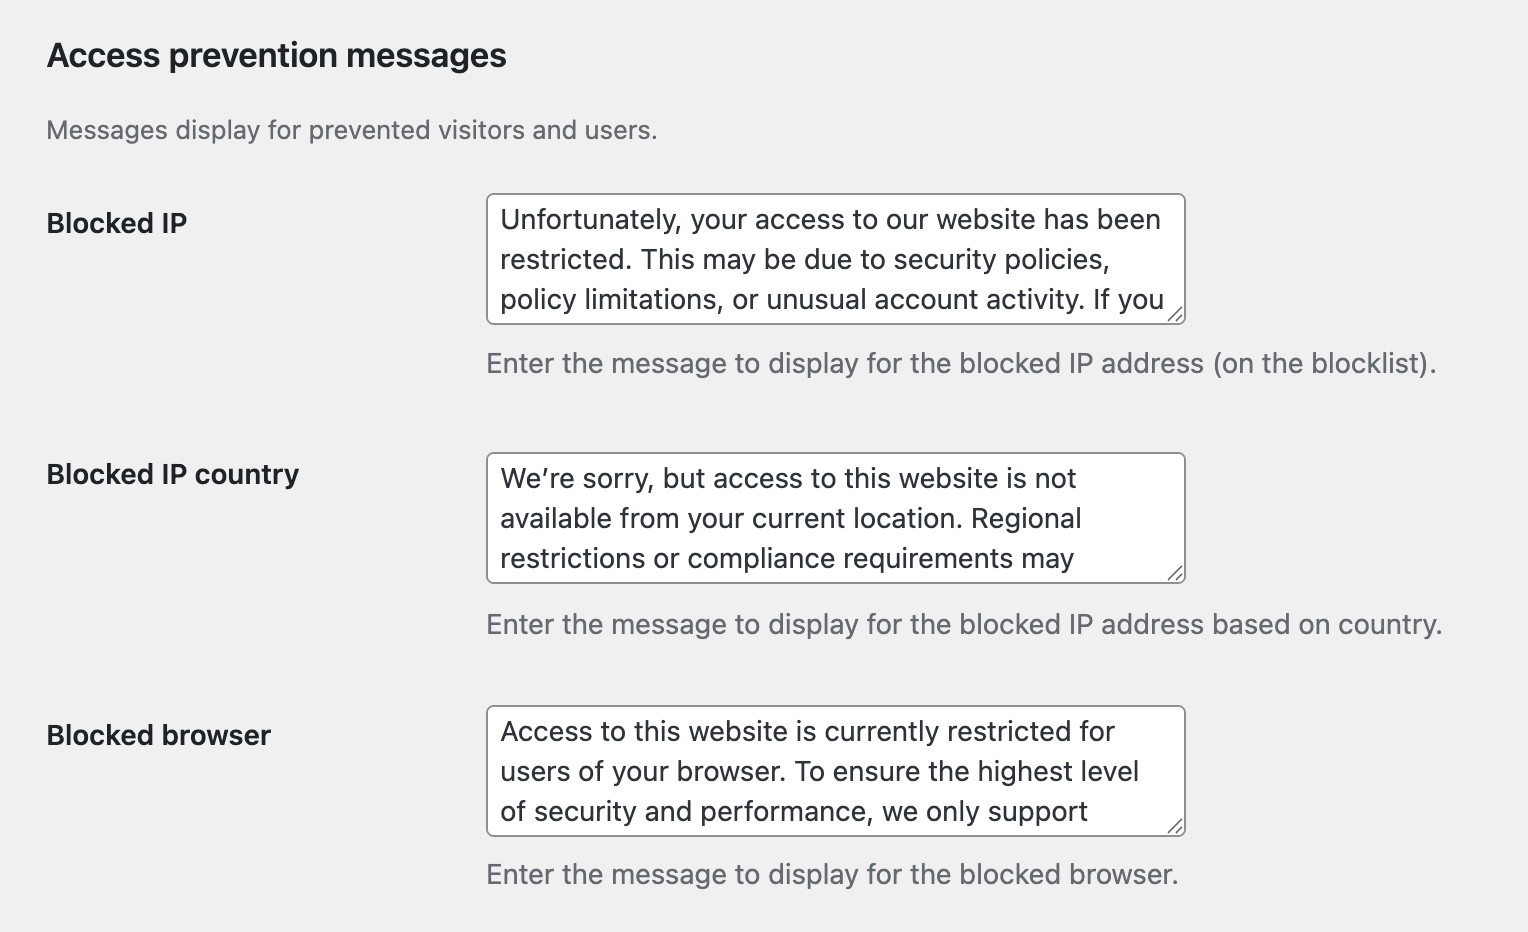
The Blocked IP message appears when an IP address on the blocklist is fully prevented from accessing the site.
- Go to Blacklist Manager > Settings > General.
- Find the IP address section.
- Set IP blocking to Prevent access.
- Go to Blacklist Manager > Notifications > Notices.
- Update the Blocked IP message.
- Click Save Changes.
Use a neutral message that gives the visitor a support path without exposing the blocked IP rule.
Configure Country Access Message
The Blocked IP country message appears when country prevention blocks the visitor based on their detected country.
- Go to Blacklist Manager > Settings > General.
- Find the IP address section.
- Enable Country prevention.
- Select the countries or regions.
- Choose Prevent this list to block selected countries.
- Choose Allow this list to allow only selected countries and restrict all others.
- Go to Blacklist Manager > Notifications > Notices.
- Update the Blocked IP country message.
Be careful with Allow this list. It is stricter than blocking a few countries because visitors outside the selected list are restricted.
Configure Browser Access Message
The Blocked browser message appears when browser blocking prevents access for the visitor’s browser.
Use browser access prevention only when you have a clear reason to restrict a browser. Some customers may use older, regional, privacy-focused, or embedded browsers. Blocking too broadly can create false positives.
If you block a browser, write a message that tells visitors to use a supported browser or contact support if they believe the restriction is wrong.
Proxy, VPN, and TOR Access
When IP blocking is set to Prevent access, Premium can also prevent visitors from accessing the site if they use Proxy, VPN, or TOR.
This is stronger than blocking checkout from Proxy, VPN, or TOR. It can stop the visitor before they reach checkout or forms.
Use this setting carefully. Some legitimate customers use VPNs for privacy, travel, or corporate networks.
Recommended Setup
- Start with Limited blocking for IP rules.
- Move to Prevent access only for repeated abuse, known hostile traffic, or clear compliance needs.
- Customize access prevention messages before enabling them on a live store.
- Use country Allow this list only if your store intentionally serves a limited region.
- Test from a controlled IP or staging site so you do not lock yourself out.
Test Access Prevention Safely
- Use a staging site if possible.
- Add a temporary test rule.
- Confirm the full-page access prevention message appears.
- Check Activity Logs to confirm the blocked access event was recorded.
- Remove the test rule immediately after testing.
Troubleshooting
You Locked Yourself Out
Use another admin session, a different network, or database access to disable the rule. Avoid testing Prevent access on your only current IP address.
Legitimate Customers Cannot Access the Site
Check IP blocking, country prevention, browser blocking, and Proxy/VPN/TOR access prevention. If you only intended to block checkout or forms, switch IP blocking back to Limited blocking.
The Wrong Access Message Appears
Confirm which rule triggered the block. Blocked IP, country prevention, and browser blocking each use a separate message in the Notices tab.
Continue from Blacklist Manager Premium documentation to the complete product workflow.
Evaluate product scope on the money page, use the pillar Guide for decisions and trade-offs, and return here for exact configuration.
Did this guide answer your question?
Still stuck?
Open a support request and include this article title, your plugin version, and what you already tried.
Open Support